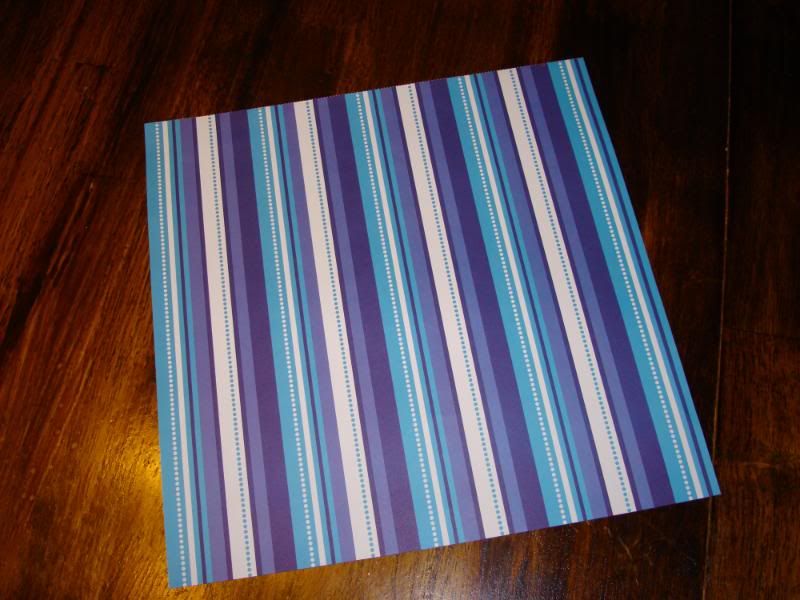
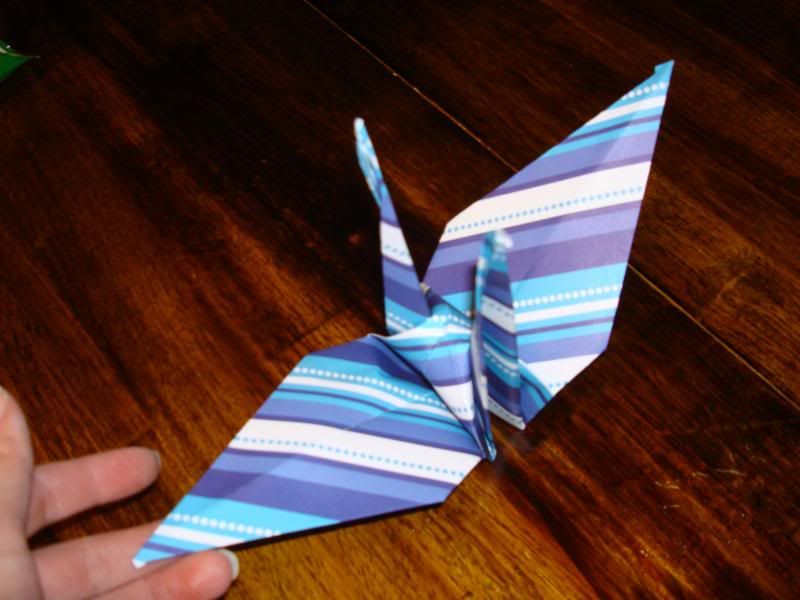
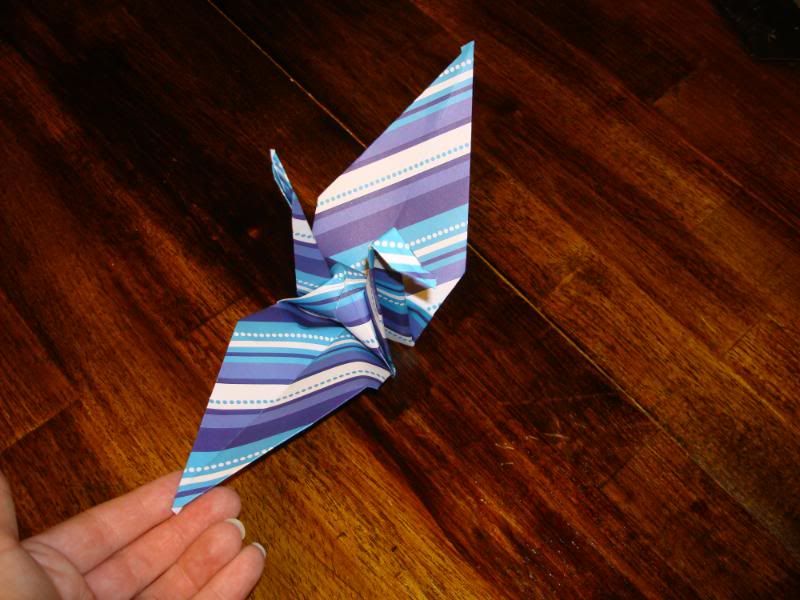
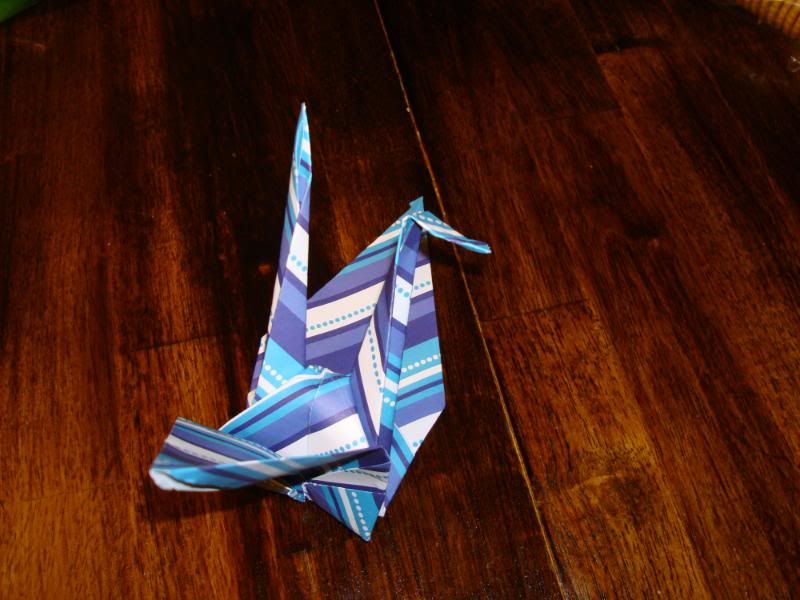
today i found out about osh kosh's cranes for kids program. for every paper crane you bring in or take a picture of to mail in or post to their facebook page, they'll donate an article of clothing for tsunami survivors in japan. so, in the spirit of giving, for anyone who doesn't know how to make a paper crane, i've put together a tutorial for you. all you need is a square piece of paper and your hands. once you get it down, they take less than 5 minutes to make.
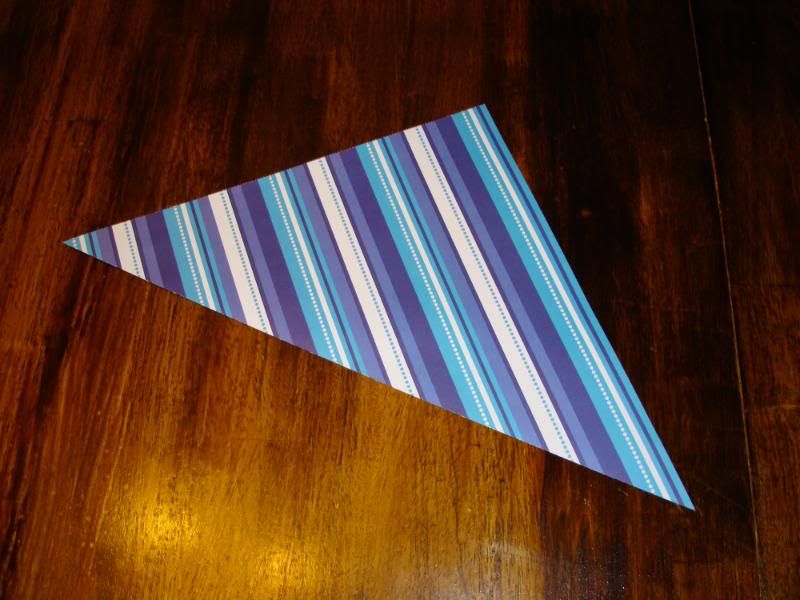
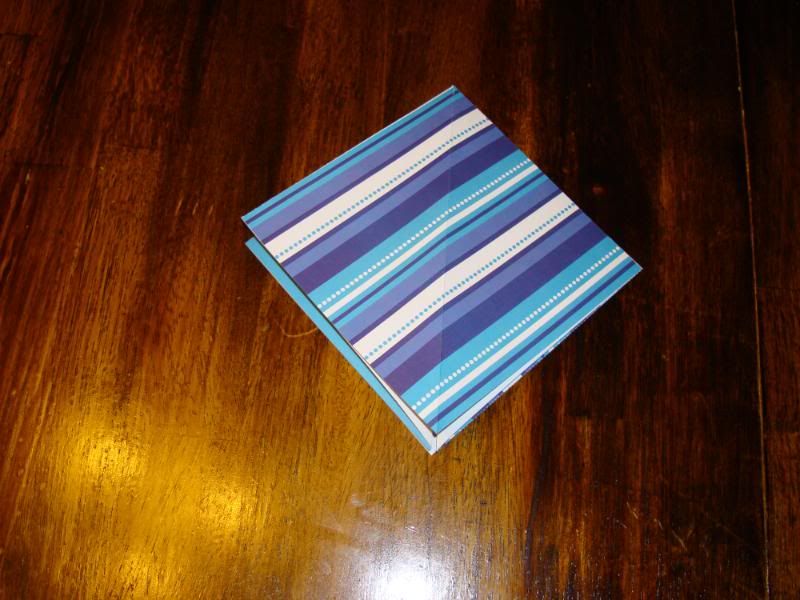
1) fold your paper diagonally so you have a triangle.
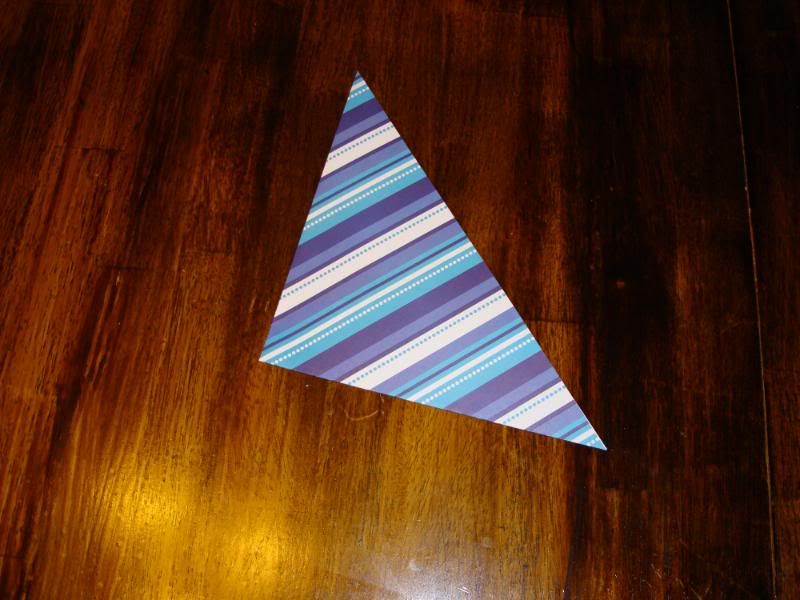
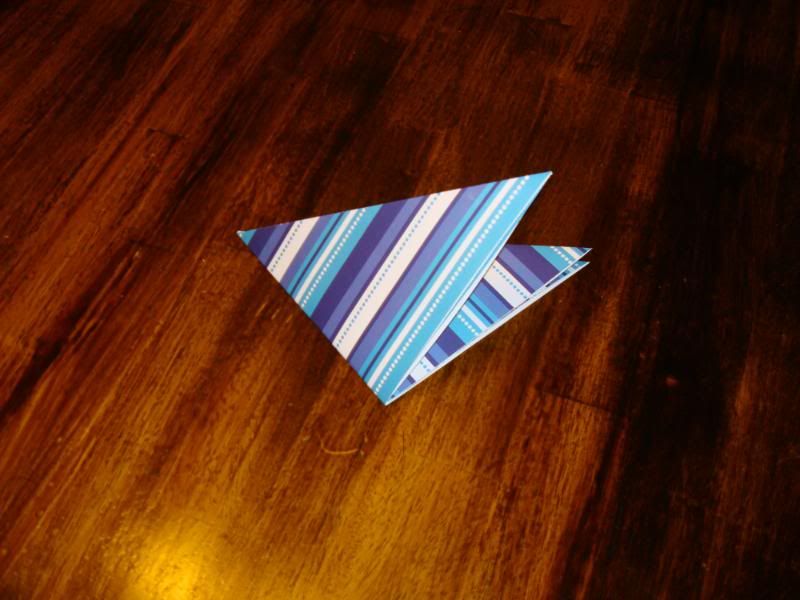
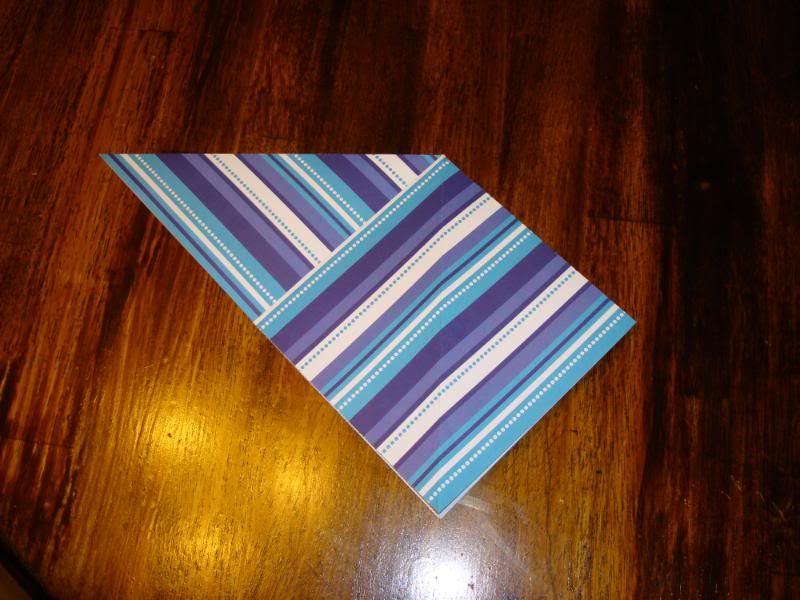
2) fold the triangle in half, then do it again.
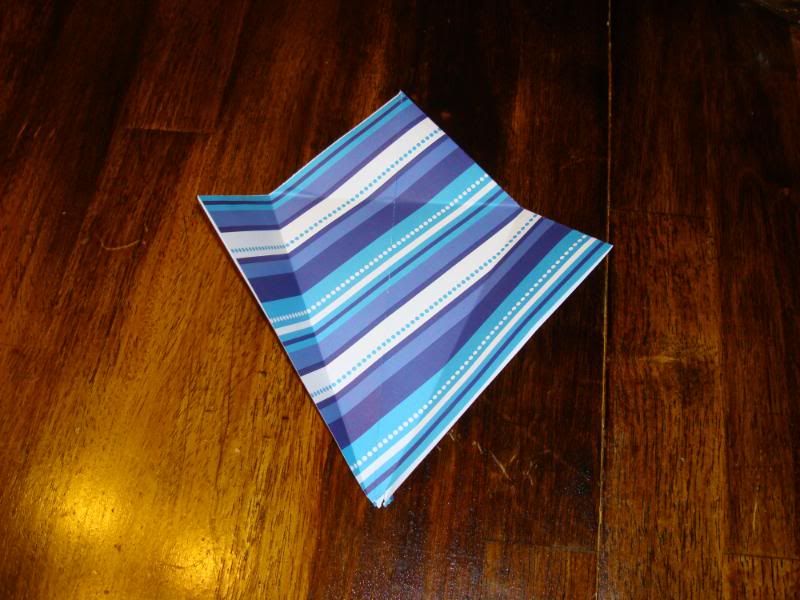
3) open the last fold. now flatten the section that's on top so it forms a square.
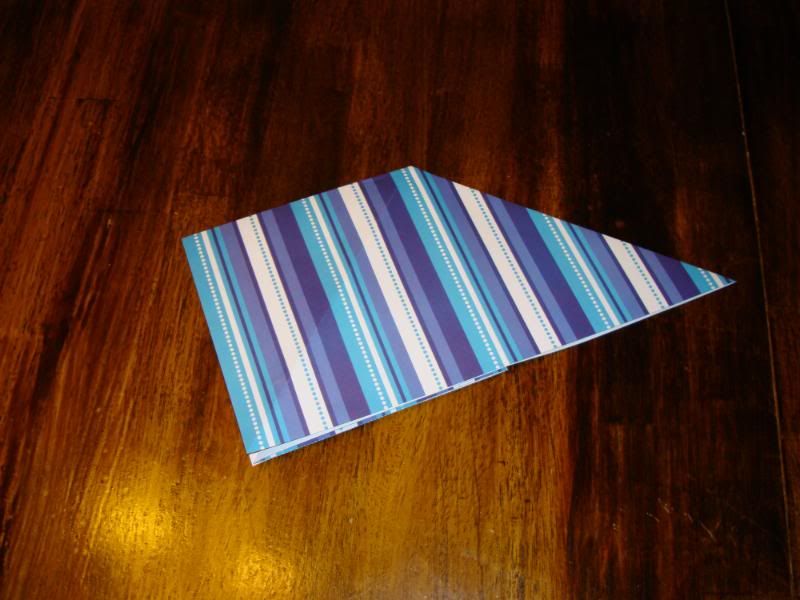
4) flip the whole thing over and flatten that triangle section into a square as well.
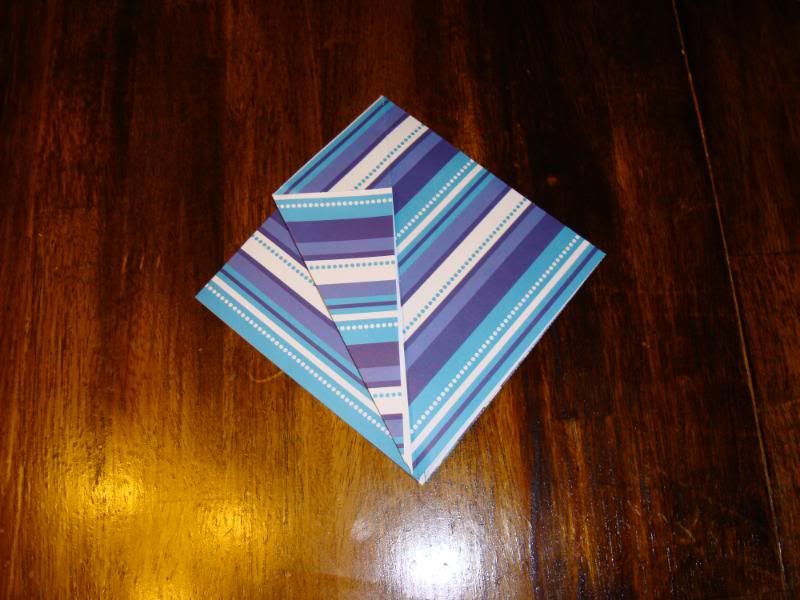
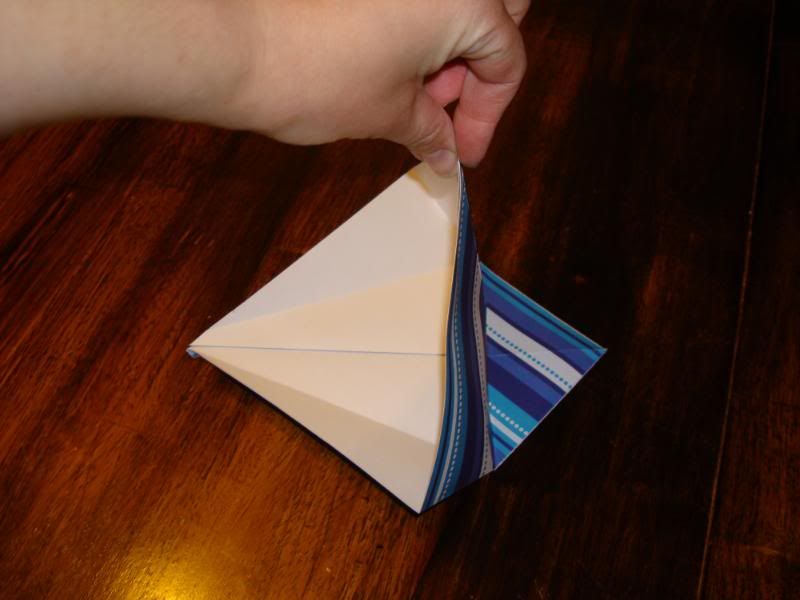
5) there will be a crease running diagonally down the center of your square. fold one of the side corners in so the edge is flush w/ the crease. in this picture, the bottom of the paper is where all the corners are and you can see into the inside of the paper.
6) repeat w/ the opposite side. then flip the whole thing over and repeat on the back side.
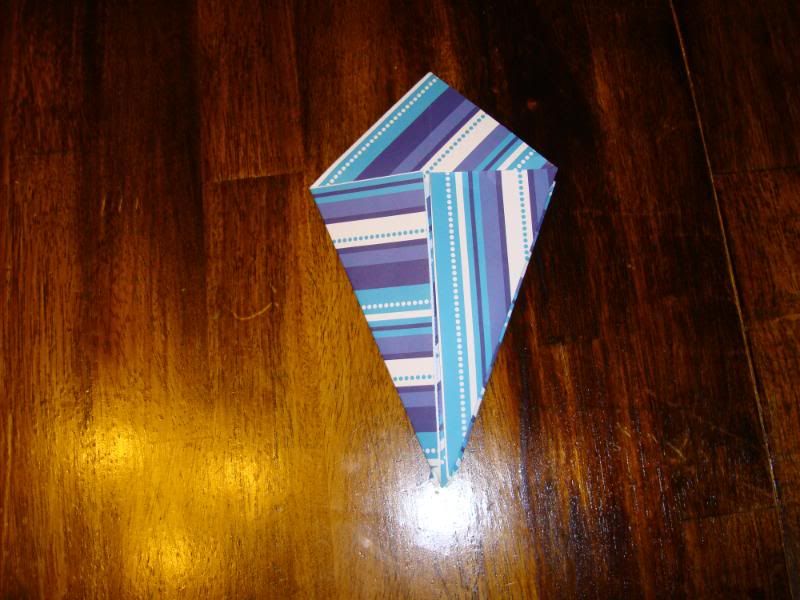
7) it should look a little like an ice cream cone. fold the "ice cream" portion down over the "cone" portion. make sure to fold it BOTH ways, toward the front AND the back.
8) open the "ice cream" and "cone" flaps on one side so you have a square again.
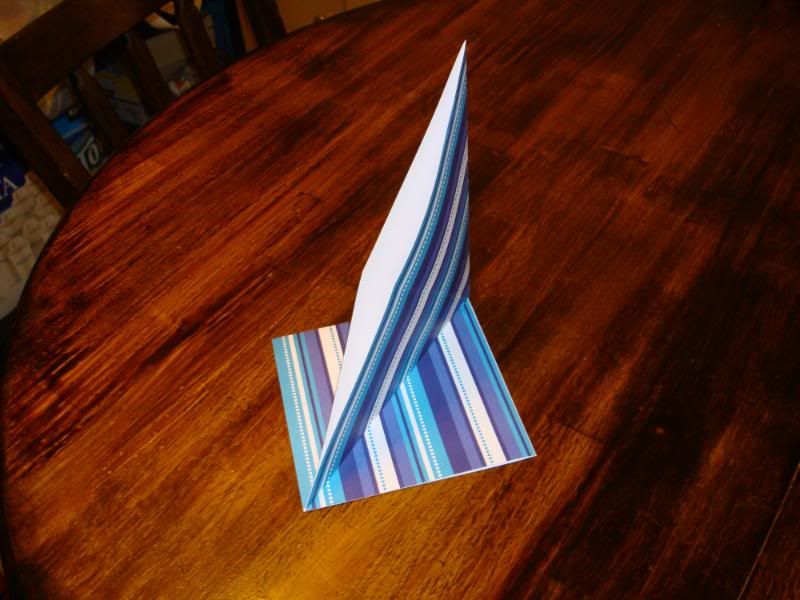
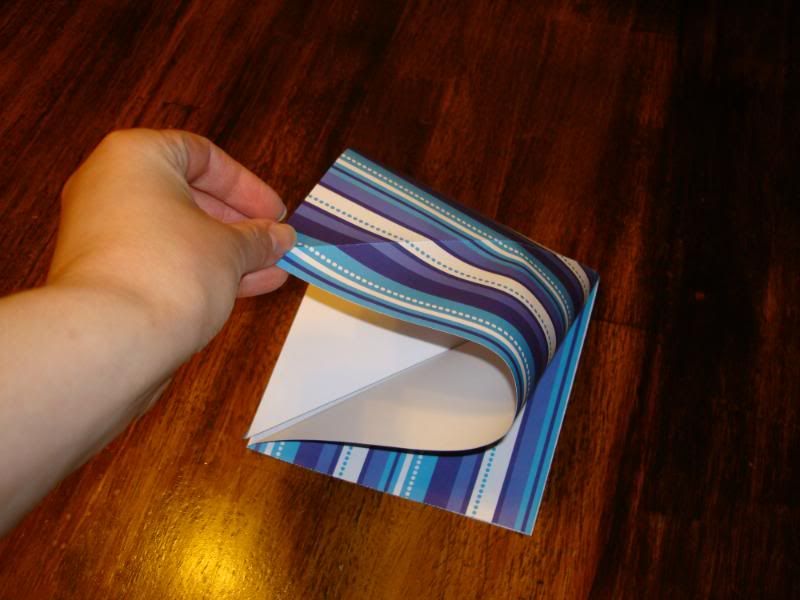
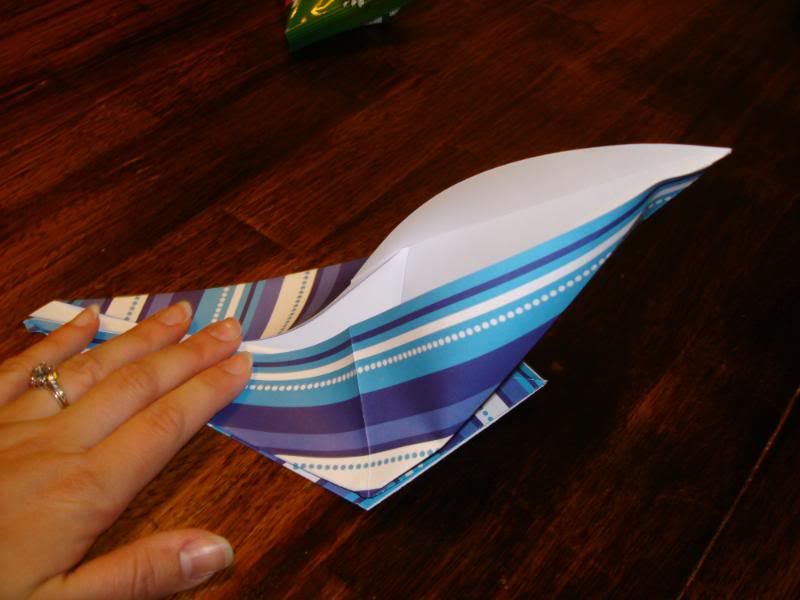
9) pick up the TOP layer of paper only at the bottom of your square and make sure the paper bends where you made the crease from folding down the "ice cream."
10) flatten it out, making sure to carefully crease the edges so the paper doesn't rip.
11) flip over and repeat steps 9 & 10 on the other side.
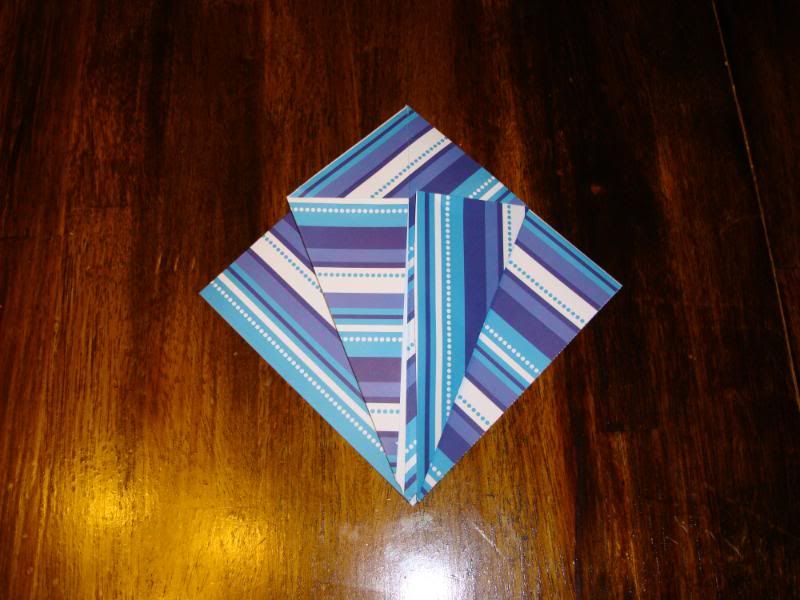
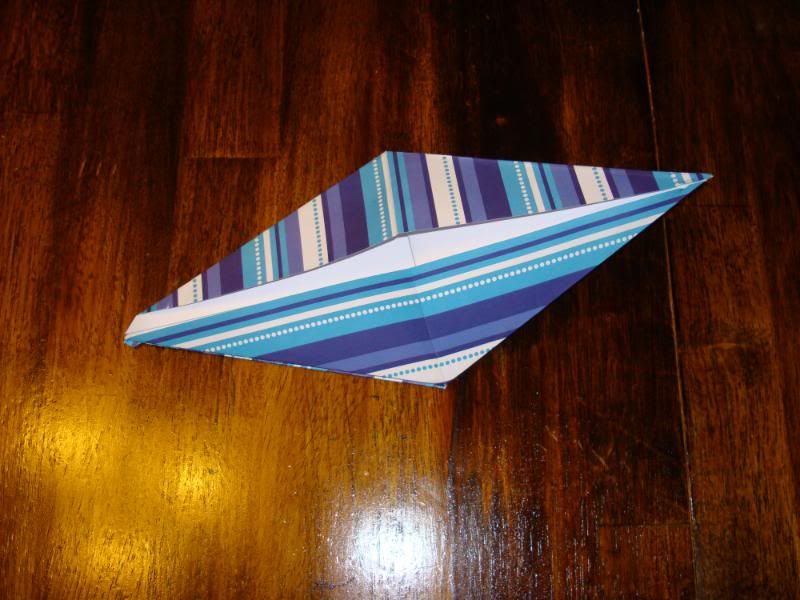
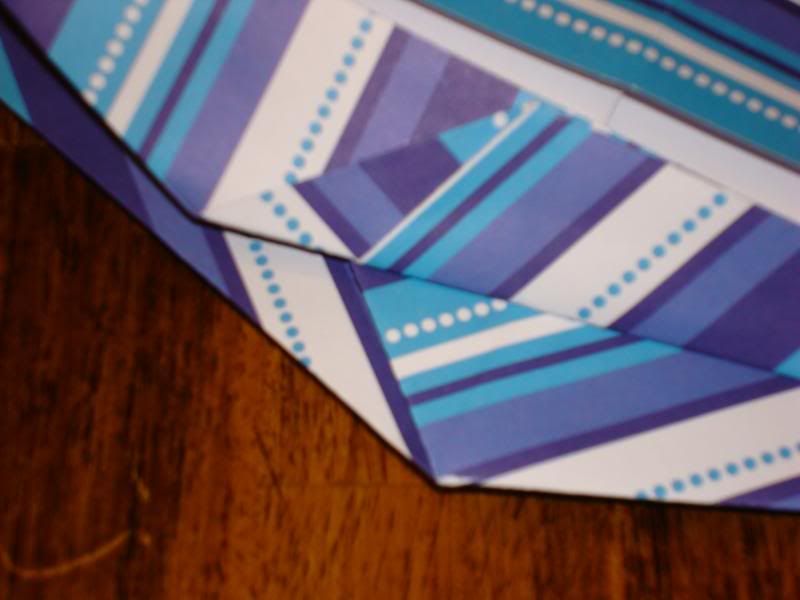
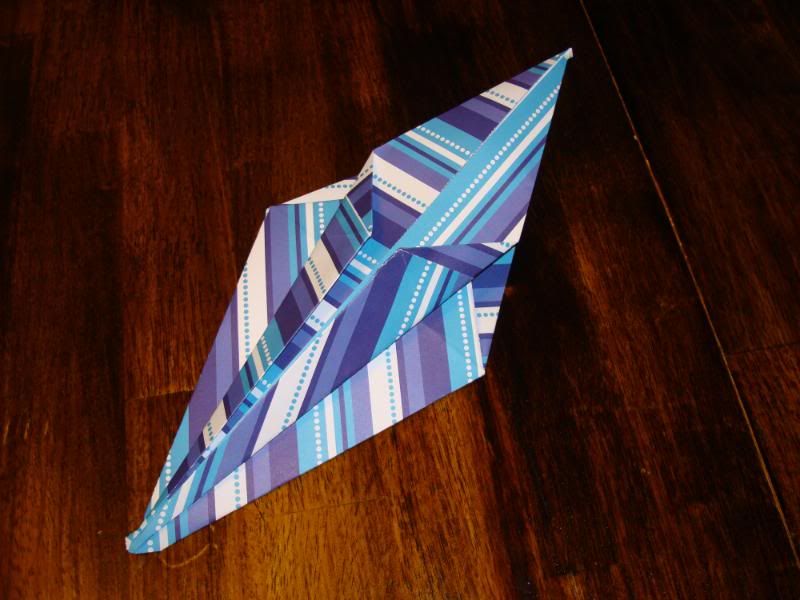
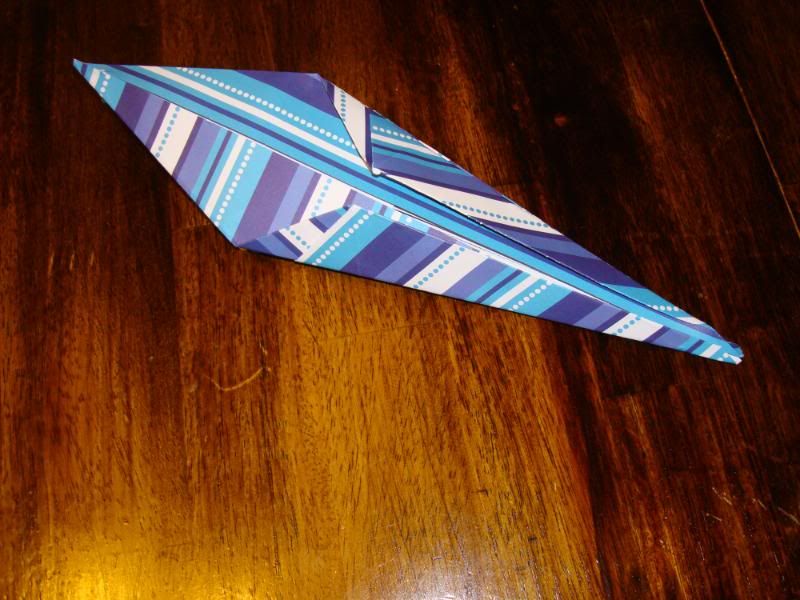
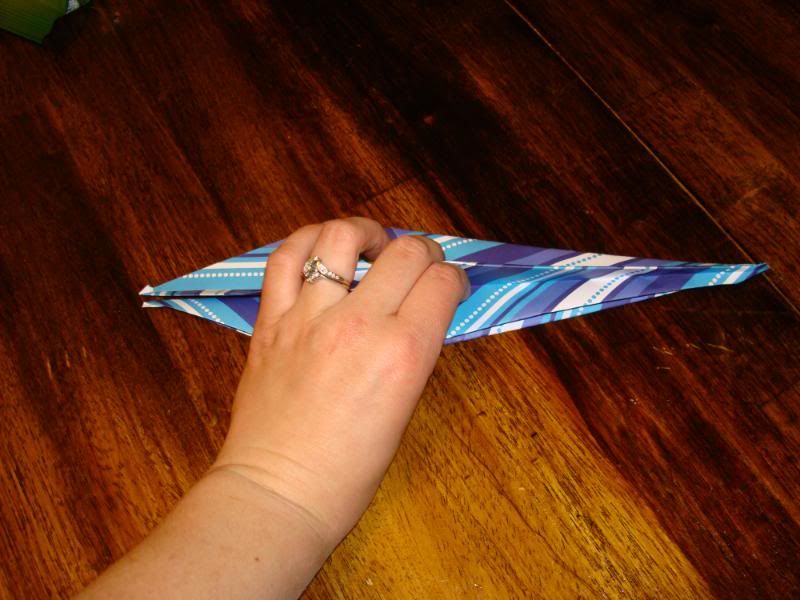
12) you should have a very long, skinny diamond shape. fold the corner in so the edge is flush w/ the seam in the middle. there will be folds visible after you do this - make sure the folds are lined up like in the close up picture here.
13) repeat this on the other flap of the diamond.
14) flip over and repeat steps 12 & 13 on the 2nd side.
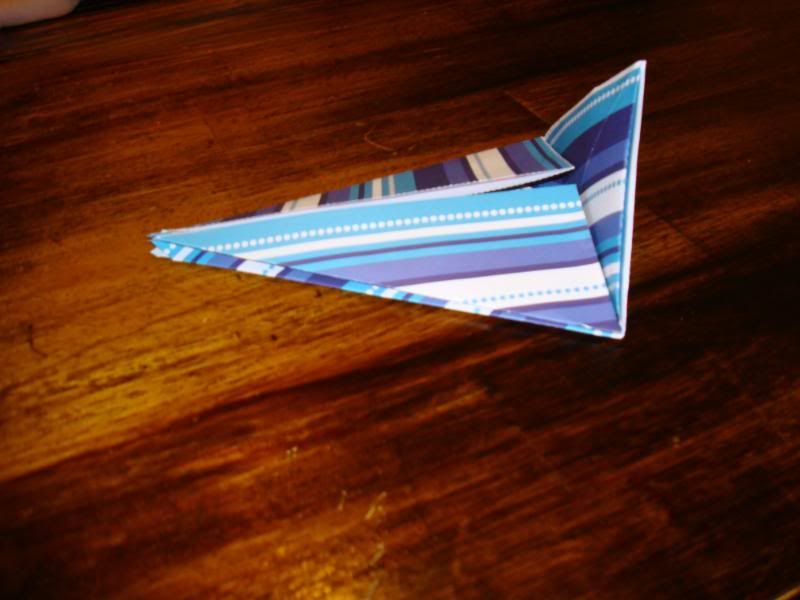
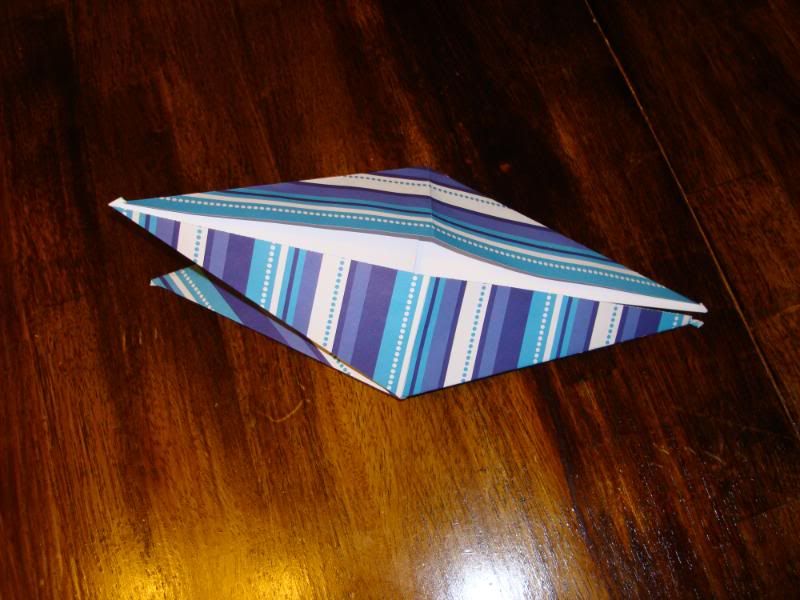
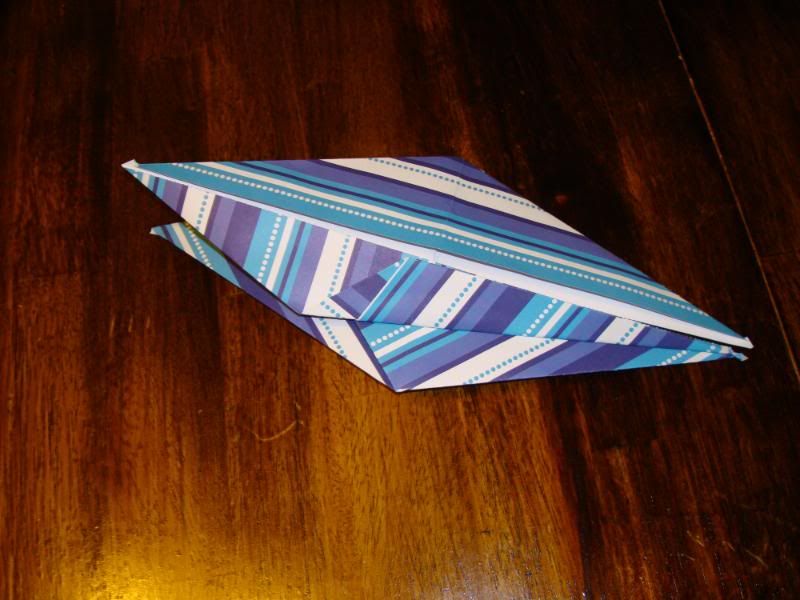
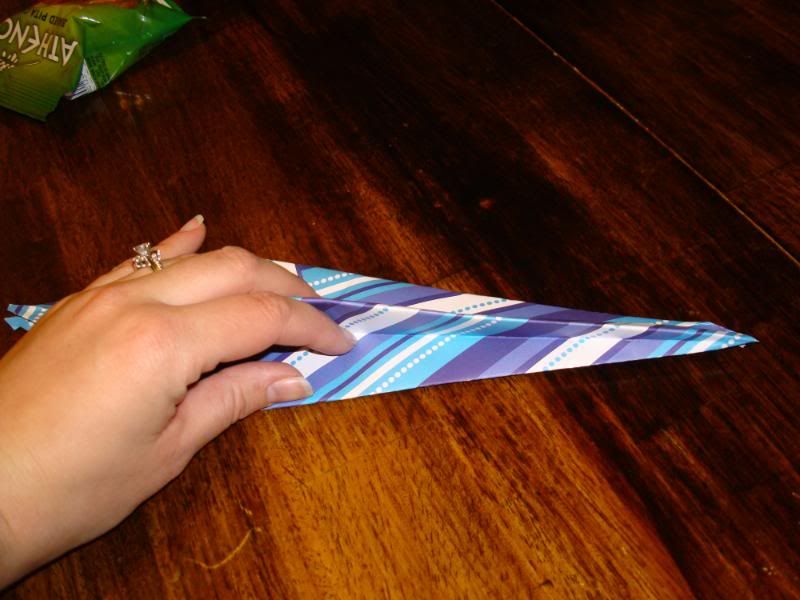
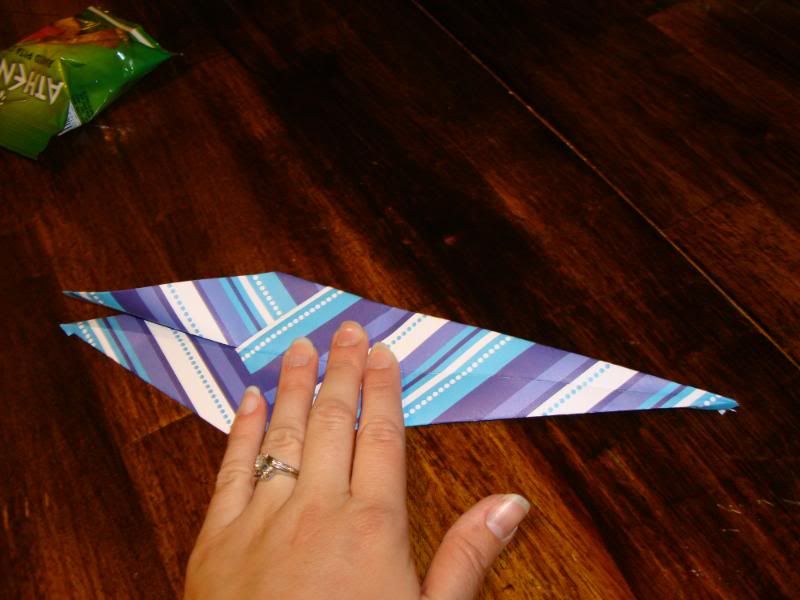
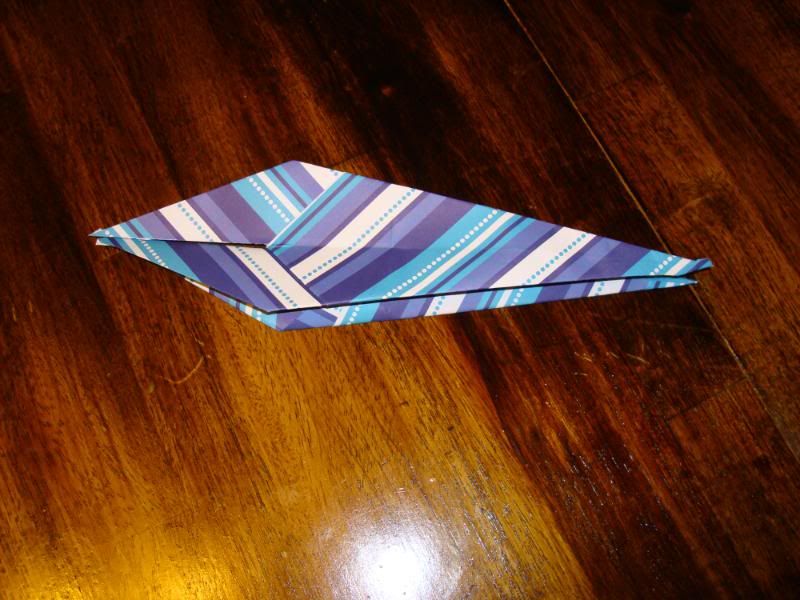
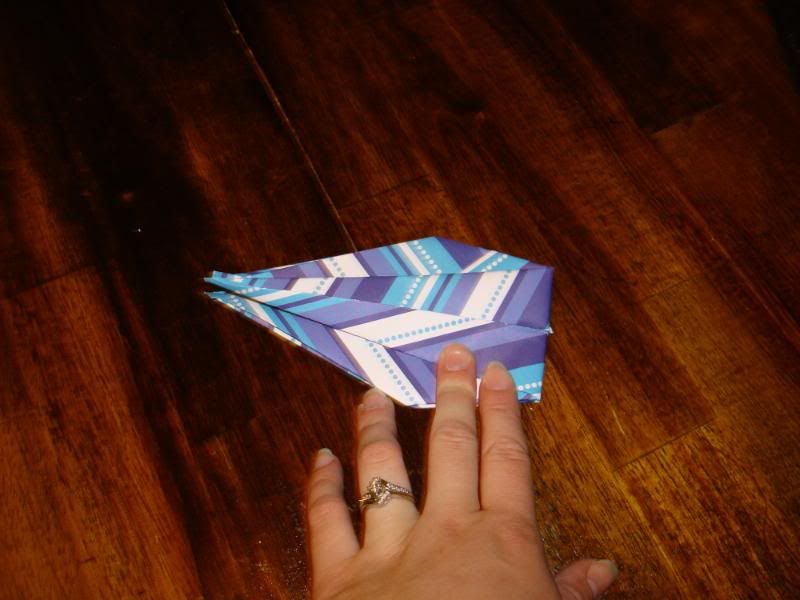
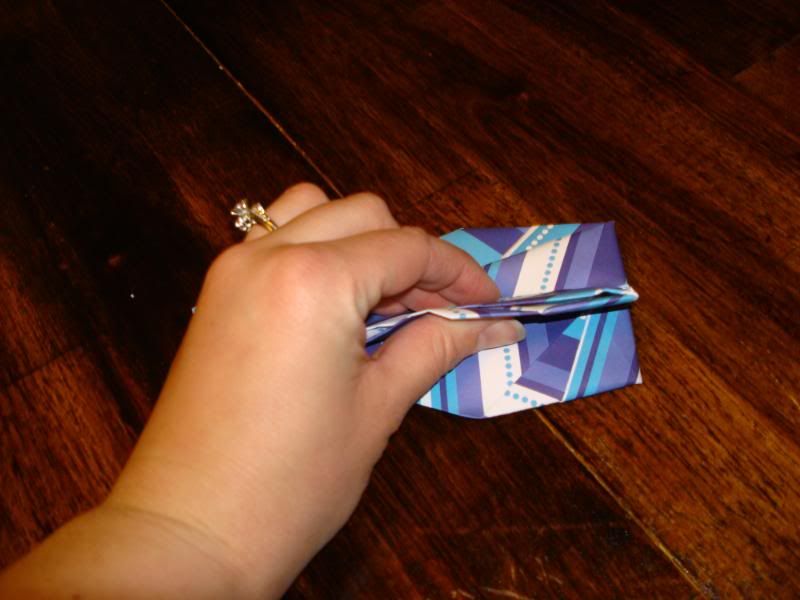
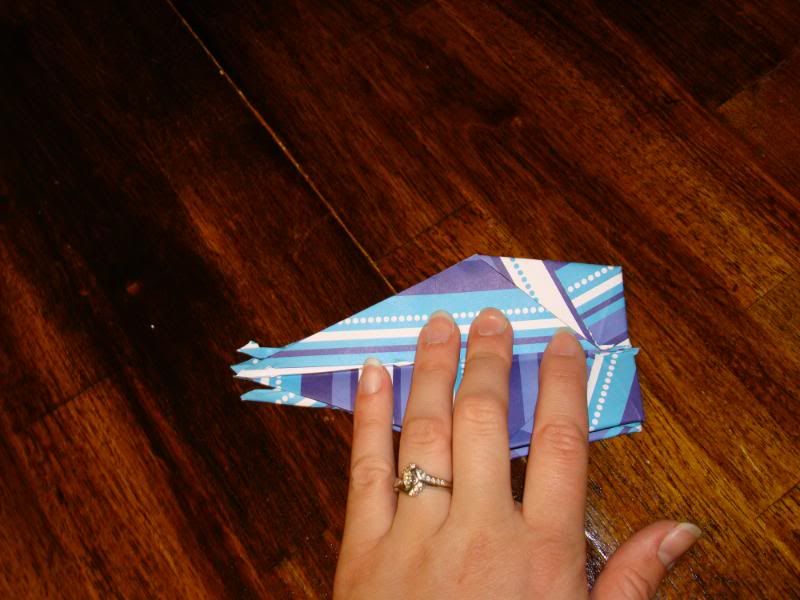
15) you should have an ever skinnier diamond shape now. lift one flap and fold it completely over itself. after doing this, you should have 3 flaps on one half and 1 flap on the other half.
16) flip over and fold the extra 3rd flap over itself so you again have 2 flaps on each half.
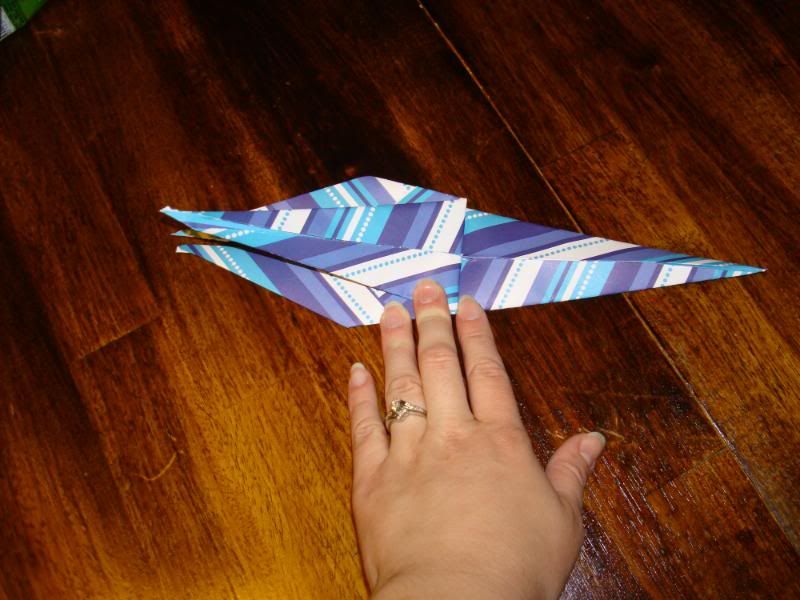
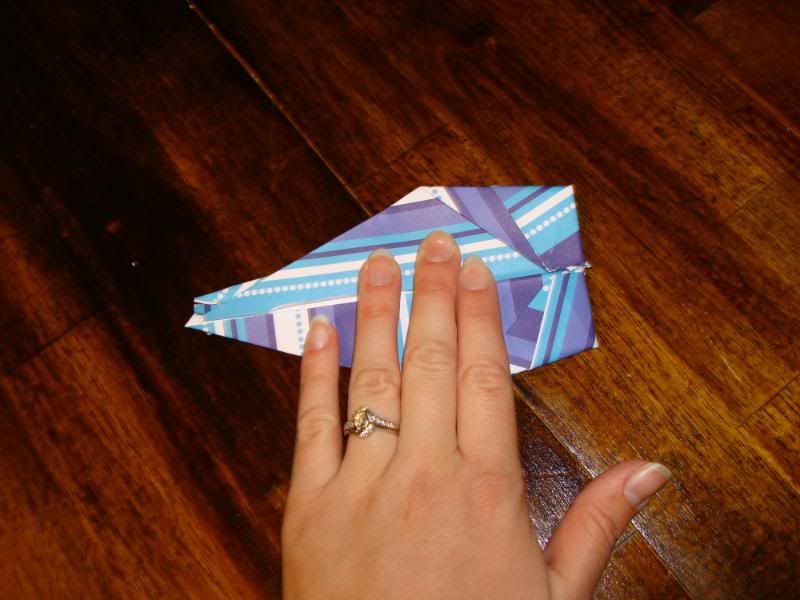
17) fold each of the narrow flaps up toward the thicker flaps.
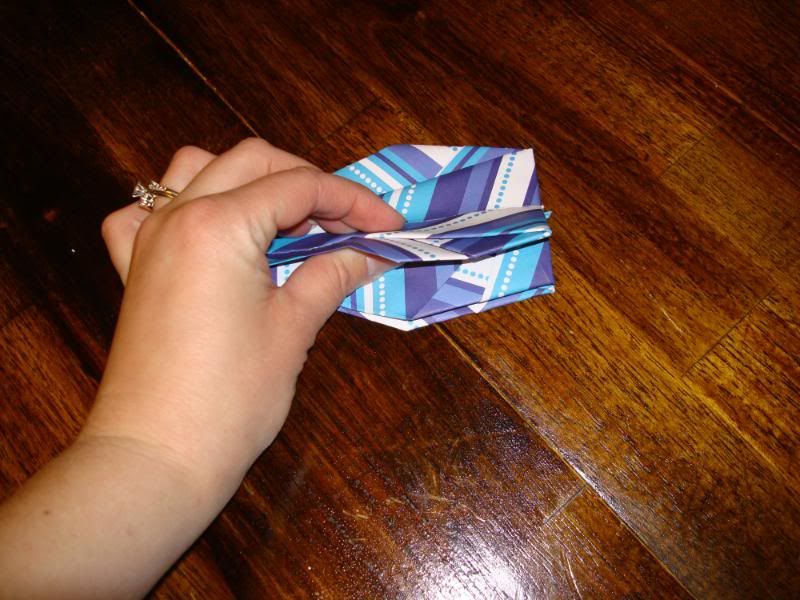
18) again, fold one of the flaps completely over itself so you have 3 flaps on one half and 1 flap on the other half.
19) flip it over and repeat so you again have 2 flaps on each half.
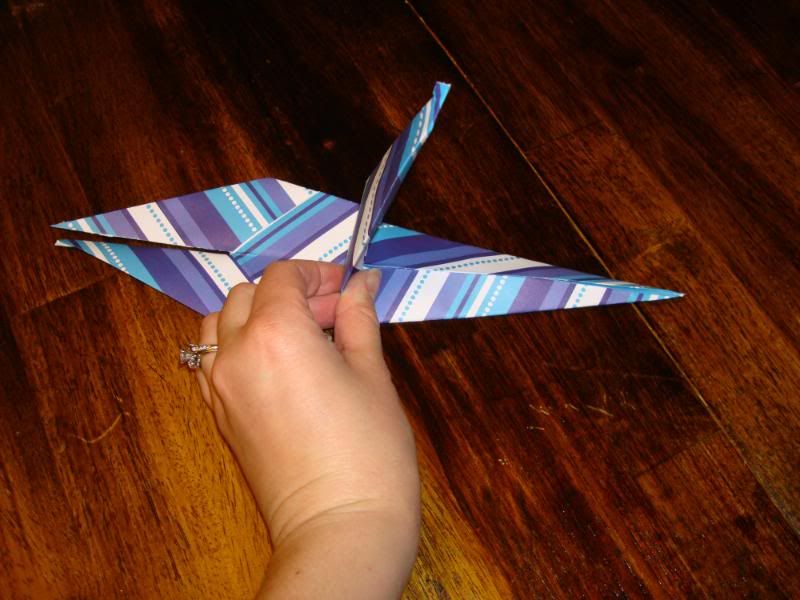
20) the wider flaps are the wings - pull them GENTLY away from each other. the narrow flaps are the head and tail. it doesn't matter which is which. the side you choose for the head needs to have the tip bent down about 1/2 to 1 inch from the point (depending on how large a piece of paper you use). viola! you're done!
follow our adventures in homeschooling, teaching our kids about christ, and trying all kinds of new things, from cooking and baking to science experiments to going new places. we embrace every day to the fullest so we can learn about the world around us, giving and receiving the best life has to offer!
Wednesday, March 30, 2011
Thursday, March 24, 2011
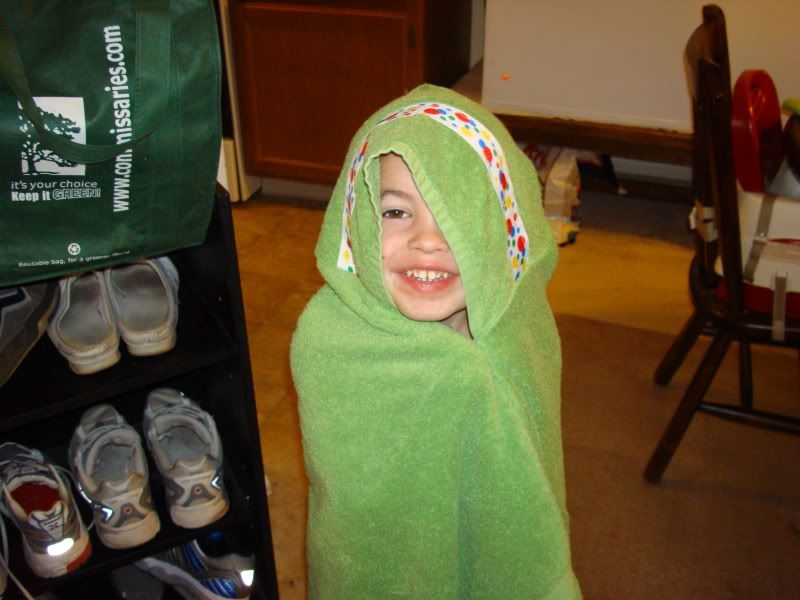
hooded towel tutorial
ok, so i've never done a tutorial before, but i hope i do a good job and it's easy to follow. please let me know if there's anything i need to change/improve/clarify.
you know those flimsy, non-absorbent hooded towels you find in the baby section of stores like target and walmart? or the ones at babies r us? why pay $20 for something that won't really do anything when you can make a nice one for less than half the cost in any color combo you like? i say: DON'T! here's a step-by-step tutorial on how to make your own hooded towel at home:
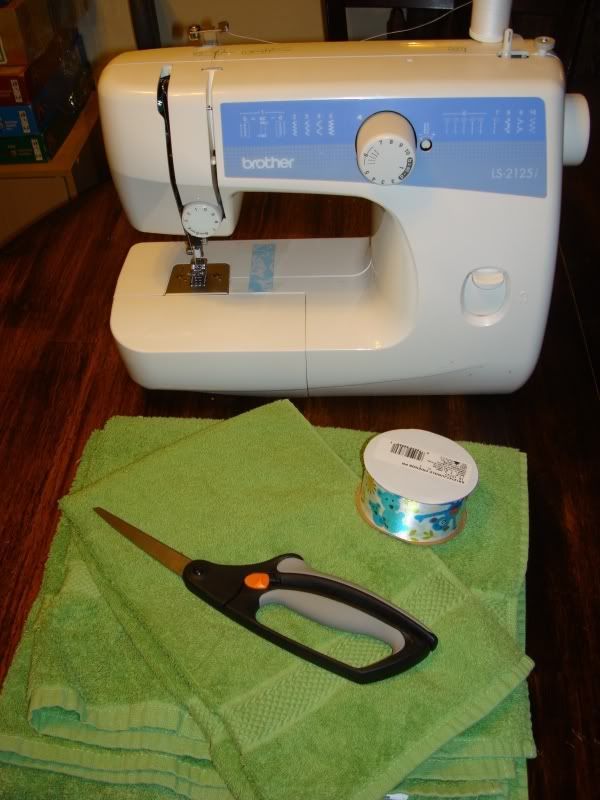
1) you will need a sewing machine, a serger if you've got one (though the serger isn't necessary, it IS nice), 1 bath towel, 1 hand towel, 1 to 1 1/2 inch wide ribbon (optional; if you get by the yard ribbon, get 18-24 inches), and a pair of scissors.
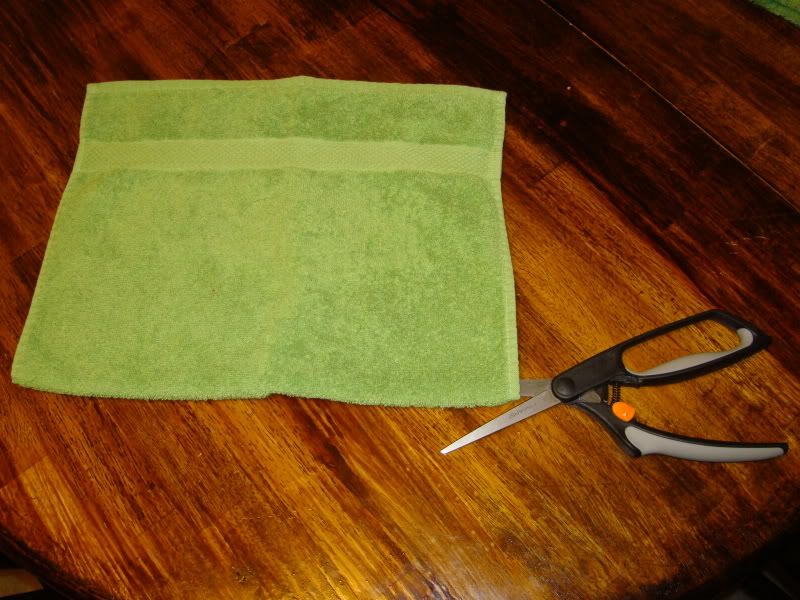
2) fold the hand towel in half and cut along the fold.
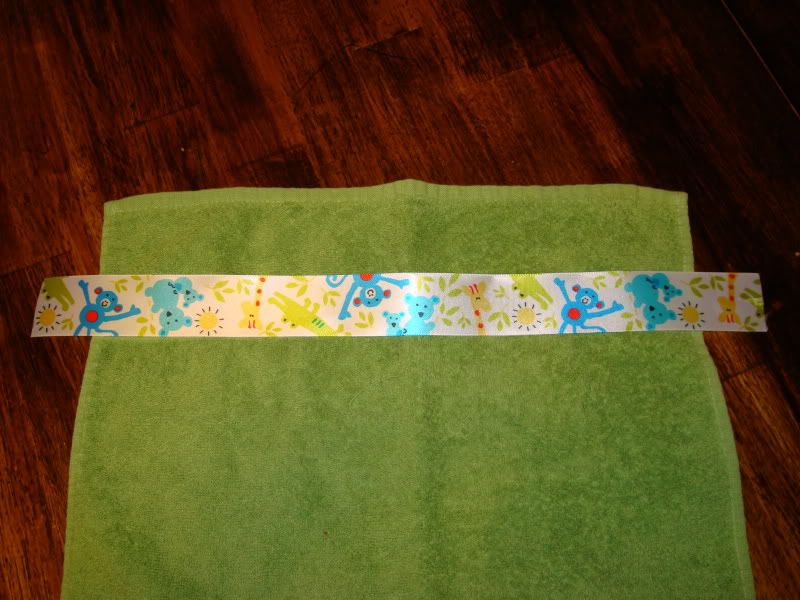
3) cut a length of ribbon about 2-3 inches longer than the WIDTH of the half-hand towel.
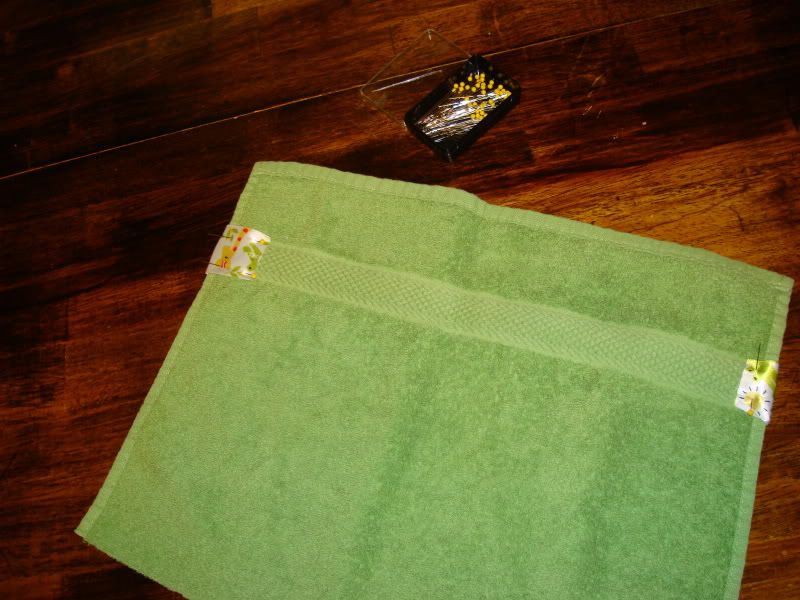
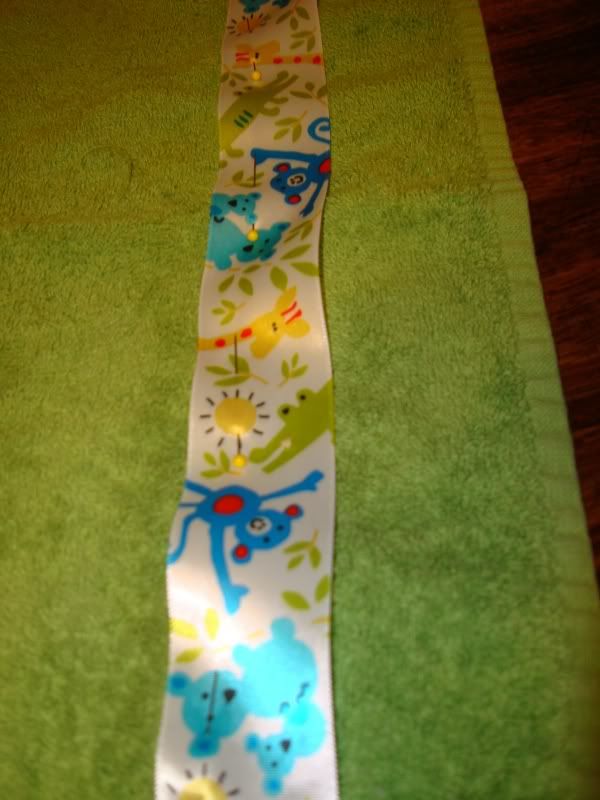
4) fold the ends of the ribbon under and pin them in place (these will be removed after the next step, so it doesn't need to look pretty).
5) flip over and pin the ribbon in place, making sure to pin through the ribbon ends on the bottom side. remove pins from bottom side.
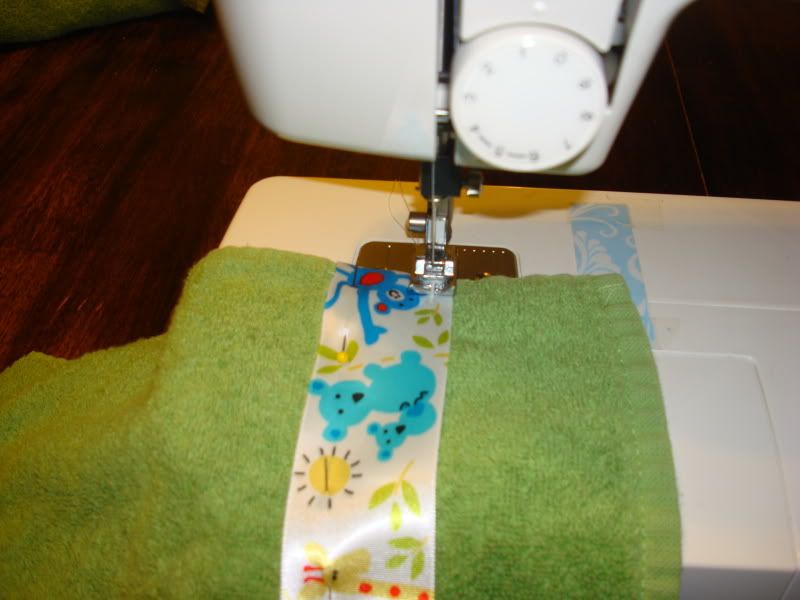
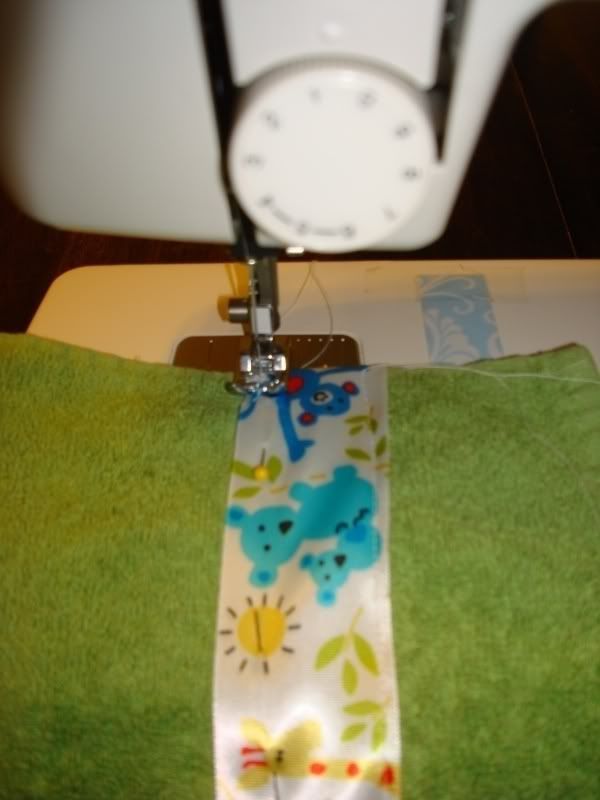
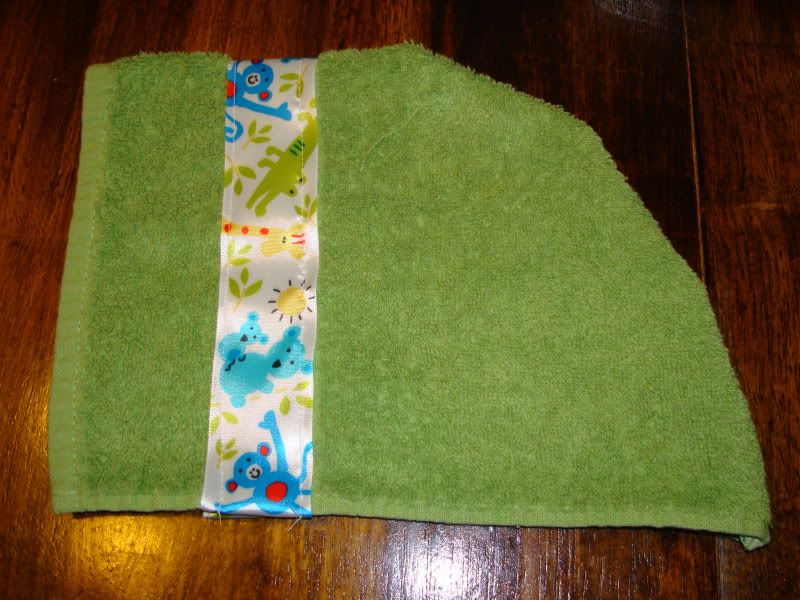
6) sew both edges of the ribbon to the towel, making sure to keep the ribbon ends tucked under.
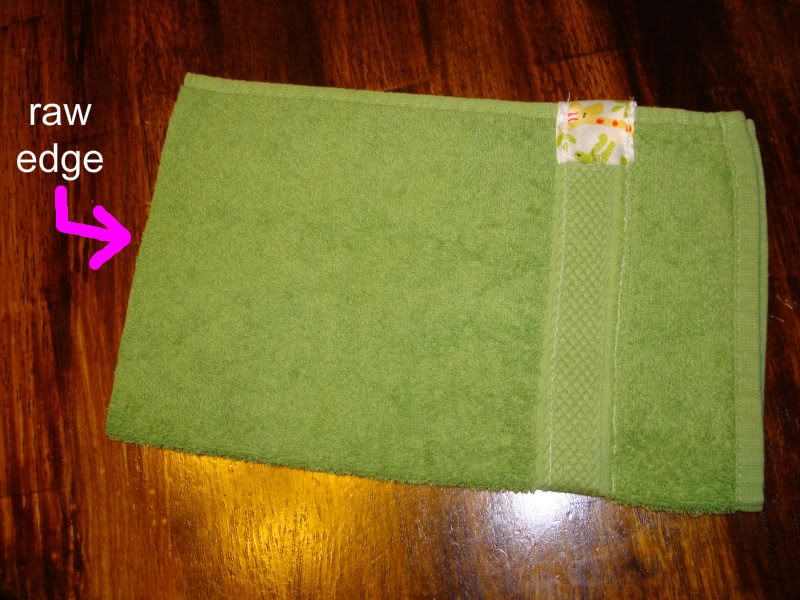
7) fold the towel in half so the ribbon is on the inside and the raw edge is doubled over itself.
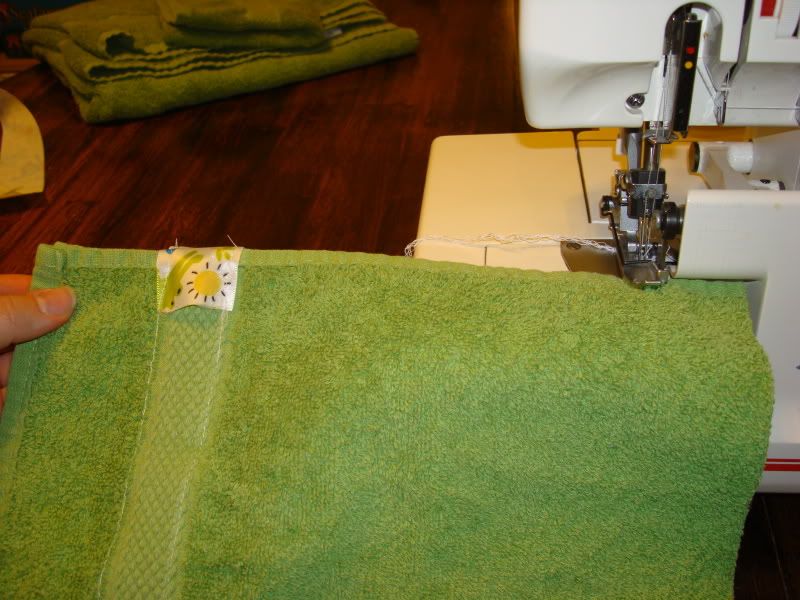
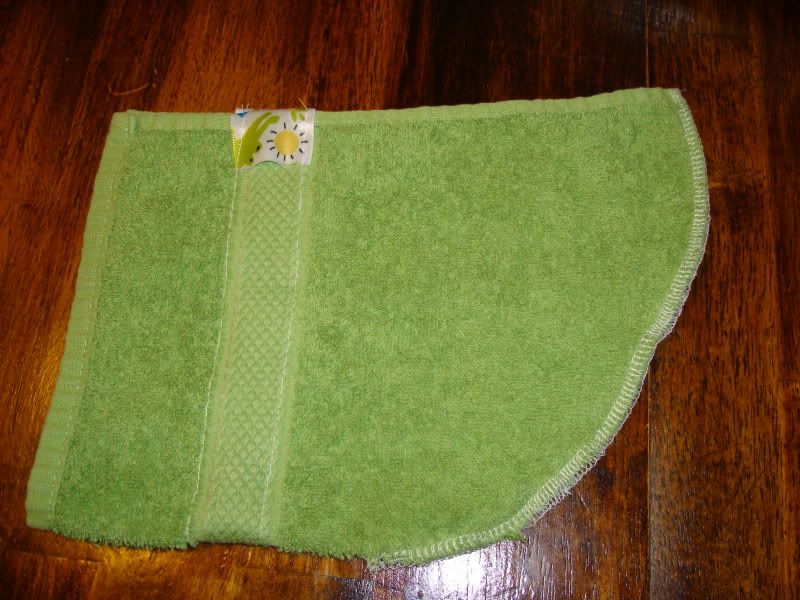
8) serge (or use a zigzag stitch on a regular sewing machine) the raw edges together. i like to round the corner so it'll fit my kids' heads better, though this isn't necessary (if you're using a regular sewing machine for this step, trim the excess towel after you put in the seam, then use frayblock along the edges to keep it from fraying when you wash the towel). then, turn the hood right-side-out.
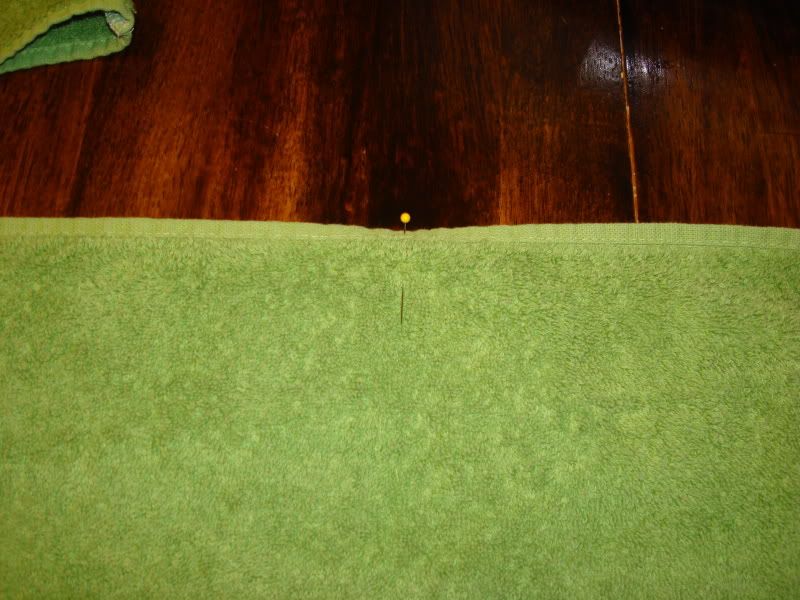
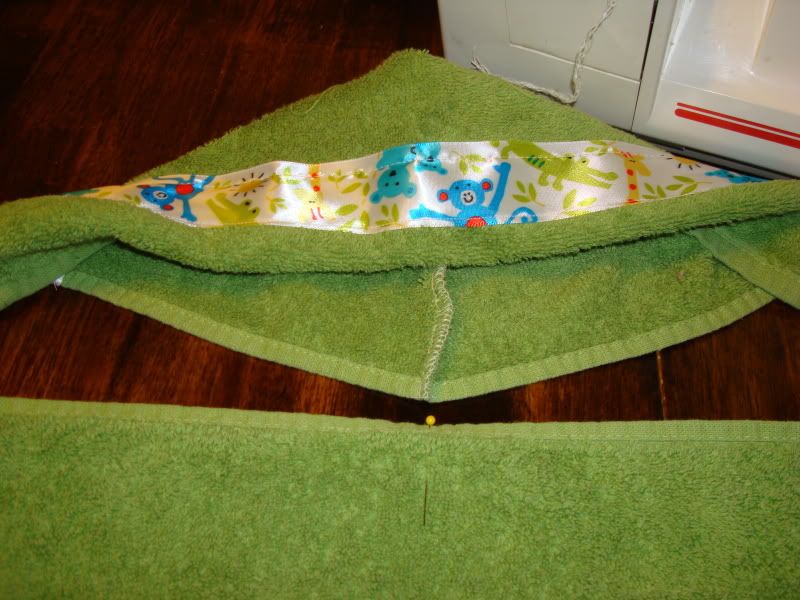
9) find the middle of a long edge on your bath towel and mark it w/ a pin or fabric pencil.
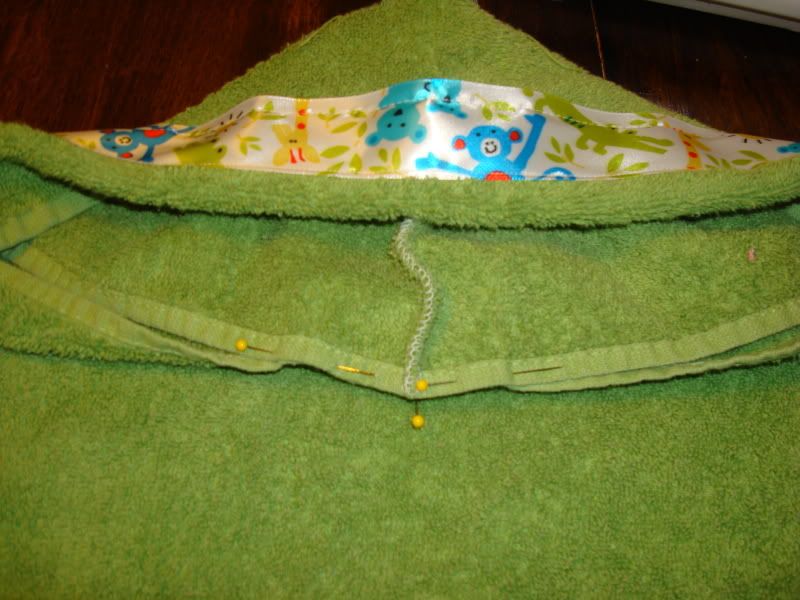
10) line up your serged/sewn seam on the hood w/ the marking on the bath towel and pin in place.
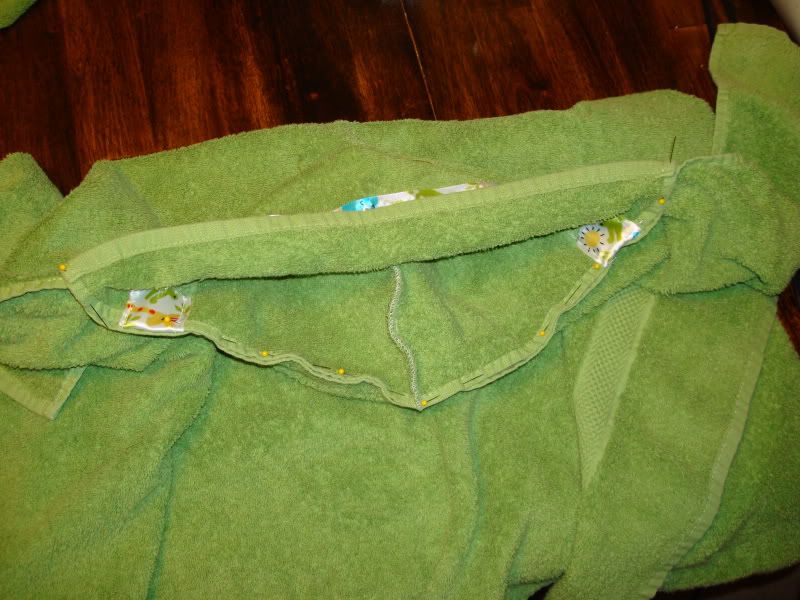
11) pin down the rest of the hood edge to the towel edge. when it's pinned correctly, you will NOT be able to lay it completely flat.
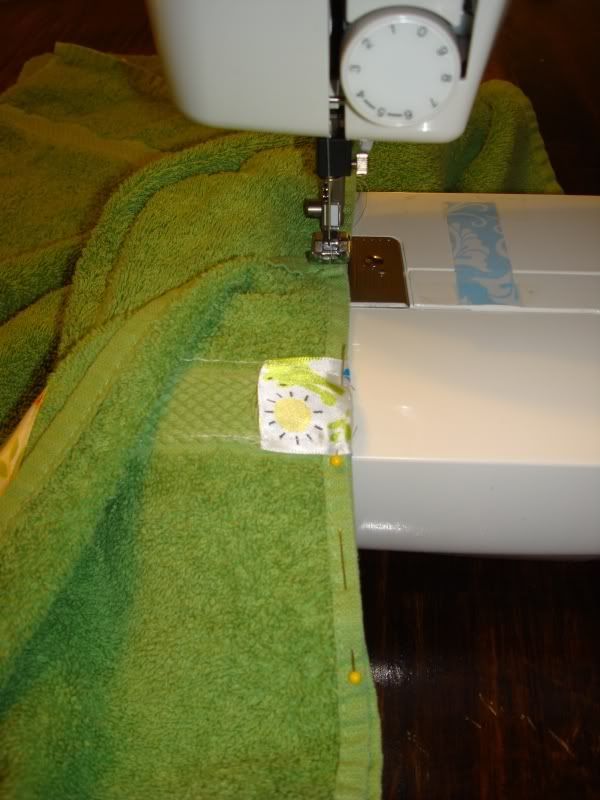
12) sew the pinned edges together. you will likely have to lift the sewing machine foot over the edges of the hood since it's quite a jump in fabric height.
13) clip your strings - you're done!
Subscribe to:
Posts (Atom)
